8: WCP - Create New Study |
2025-07-05 |
This topic is under construction.
This topic is part of the FDA MyStudies: Technical Setup Document. It covers the details for section creating a new study in the WCP from this point in the setup process.
8.1 Create the Study in WCP
Sign in to the WCP, and click on Studies > Create New Study. Follow the series of steps shown below to set up content for your study.(The WCP user is referred to as 'Admin' in the sections below.)
Support for Multiple LanguagesWhen you configure a study, you have the option to elect whether to support multiple languages for the user. At present, English is the default and Spanish language is also supported. To enable communication with the end user in the language of their choice, choose Enable Multiple Language Support. When multiple language support is enabled, the Admin will be able to switch between languages for the writing of questions and response options in the sections below.Note that all administrative actions for setting up the study and resources for researchers/data analysts will be presented in English. The multiple language support applies only to the information and messages shown to the user of the mobile app.Once questions and response options have been configured in both English and Spanish, the version supplied to the user will be determined by the settings on the mobile device. If a language other than Spanish is selected, the questions will default to English.
8.1.1 Basic information
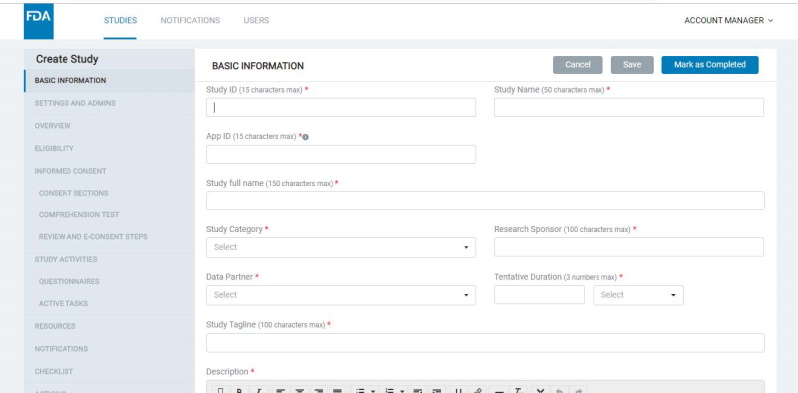
- Here, the Admin should enter a Study ID (which should be unique for each study), Study name, Study category, research and data partners, tentative duration, study tagline, study description, etc.
- Each study that you create will have a Study ID and be associated with an App ID, as well as an Org ID. The App ID and Org ID indicate the mobile app and organization with which the study is associated.
- The App ID for a study must be configured in the basic information screen (read more about app types and app IDs below).
- The Org ID field is not supported for configuration via the UI as of now but hardcoded in the backend and mobile apps with a default value. These Org IDs can be updated as required if the studies running on the deployment are associated with different organizations and if you wish to identify studies by the organization at the database level or have other use cases to address based on the Org ID.
- The platform supports two mobile app models: Gateway and Standalone.
- Gateway apps are those which house multiple studies, whereas standalone apps are those that have a single study each.
- Multiple mobile apps of each type (gateway and standalone) can be supported with a single deployment of the platform.
- Each app created off the platform must have a unique App ID.
- The Basic Information screen will allow you to specify if your study should belong to a gateway or standalone app.
- A study thumbnail image should be uploaded for a study being added to a Gateway app; this appears in the Gateway app’s study list screen.
- You would need to provide an ‘App ID’ for the study in the corresponding field on the Basic Information screen. This identifies the specific app that the study must appear in.
- If you want to add a study to an existing Gateway app, provide the app's App ID here. If adding the study to a new app (Gateway or Standalone), add a new unique App ID into this field.
- Note that standalone studies would always need a new unique App ID to be created. Refer to image below:
8.1.2 Settings & Admins
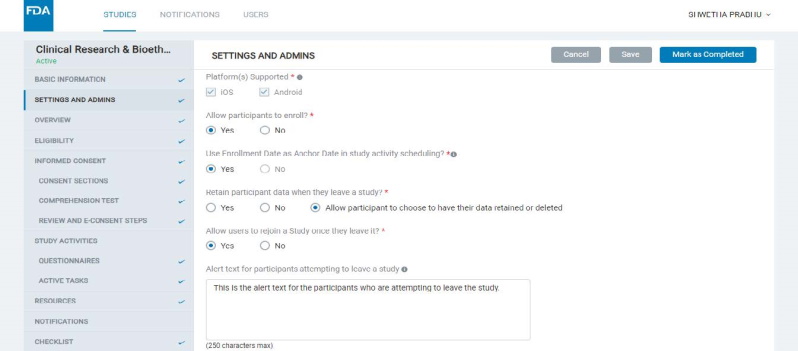
- Here, the Admin can configure certain settings for the study and manage users or “Admins" who can view or edit the study.
- Some of the key study settings here are mobile platform(s) supported for the study, enrollment being open or closed for the study, allowing enrollment date to be used as an Anchor Date for scheduling study activities and resources, etc.
8.1.3 Overview
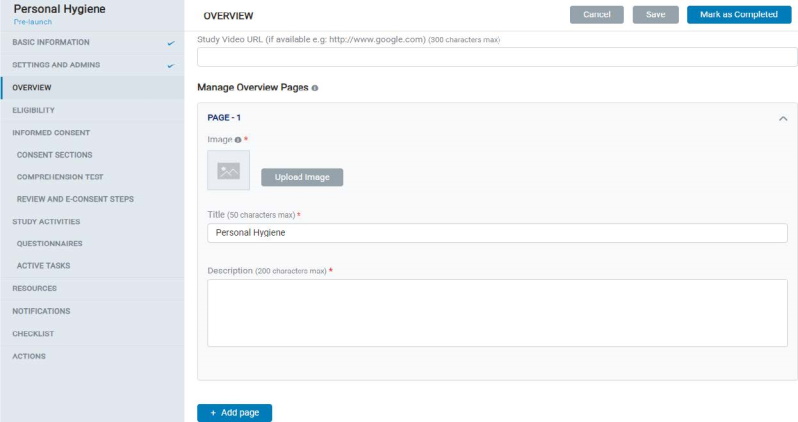
- In Overview, the Admin can add multiple pages for a study, reflected in the mobile app under Study Overview screens.
- Each page contains a Title, Description, and Image. Admin can also add a study video URL on the first page of the Study Overview.
8.1.4 Eligibility
- In the Eligibility section, the Admin can choose and set up content for the desired method to be used for determining participant eligibility:
- Token Validation Only
- Token Validation and Eligibility Test
- Eligibility Test Only.

8.1.5 Consent Section
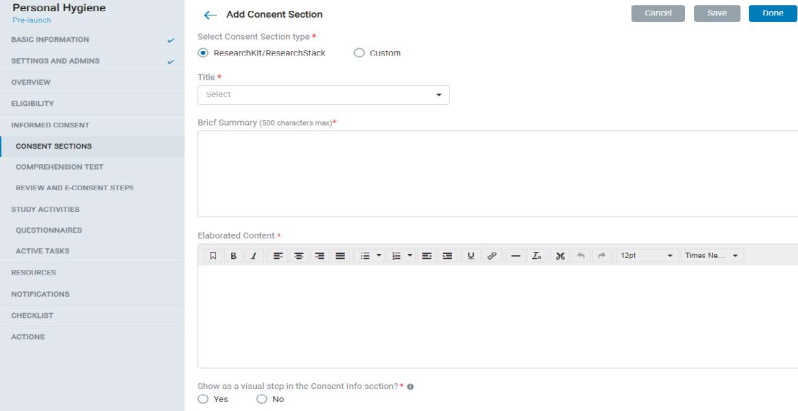
- In Consent Sections, the Admin can add ResearchKit / ResearchStack based (pre-formatted mobile UI) or custom consent section types and fill in the content accordingly.
- Each consent section contains a title, display title, summary, and elaborated content.
- The admin can also choose to display the consent section as a visual step in the mobile app.
- The admin can allow participants to take a comprehension test of the consent material and set up comprehension test questions and a minimum score to pass the test.
- In the Review Consent screen, the Admin can either choose from the auto-generated consent document (Concatenated Consent Sections) or create a Custom consent document to be used in the app.
- Consent by a LAR (Legally Authorized Representative): This will add functionality to the study's consent module in the mobile app to allow the app user to provide consent on behalf of the participant as a LAR. The study will continue to support direct consent even if this setting is enabled. The app user can choose one of two consent methods as applicable to them and will be guided through the rest of the app's consent process accordingly.
- Additional signature lines for study staff: This feature will enable additional signature lines in the finalized PDF document to accommodate required study staff signatures.
8.1.6 Participant Properties
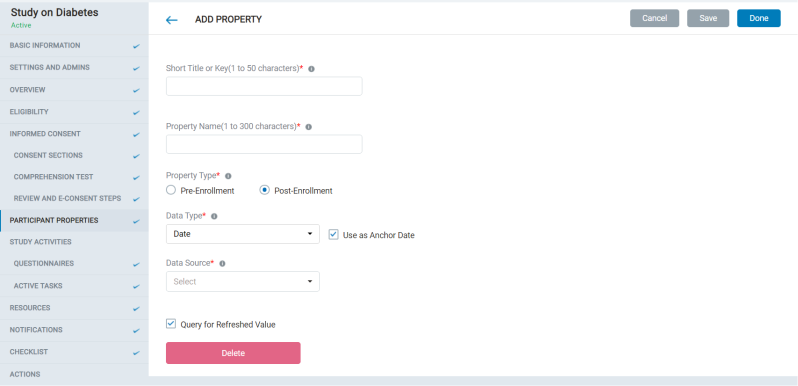
- The admin can create external properties that can define Anchor dates for activities, tasks, or resources.
- This is not a mandatory step to create the study.
8.1.7 Study Activities – Questionnaires
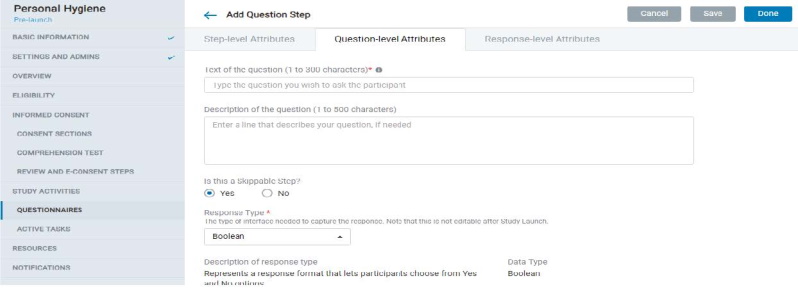
- The admin can create questionnaires with a combination of Instruction Steps, Question Steps, and Form Steps.
- Each question step comprises Step-level, Question-level, and Response-level attributes that offer several provisions to design the kind of questionnaire and study experience you need.
- A Form Step is essentially a set of Question Steps in the mobile app; all questions that belong to a form appear on a single screen.
- Many scheduling options are provided that the admin can choose from to determine the schedule of the survey in the mobile app.
8.1.8 Study Activity – Active Tasks
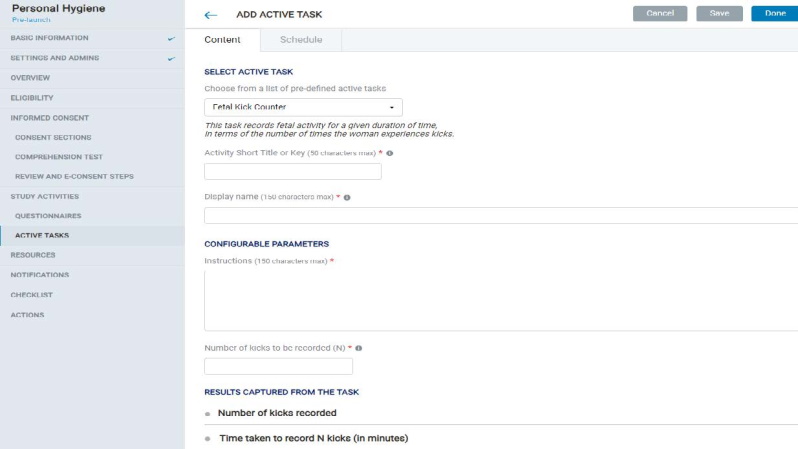
- The Admin can choose to add active tasks to the study from the options available in the WCP.
- Once an active task is selected, the admin needs to fill in values for its configurable attributes.
- A number of scheduling options are provided that the admin can choose from to determine the active task schedule in the mobile app.
8.1.9 Resources
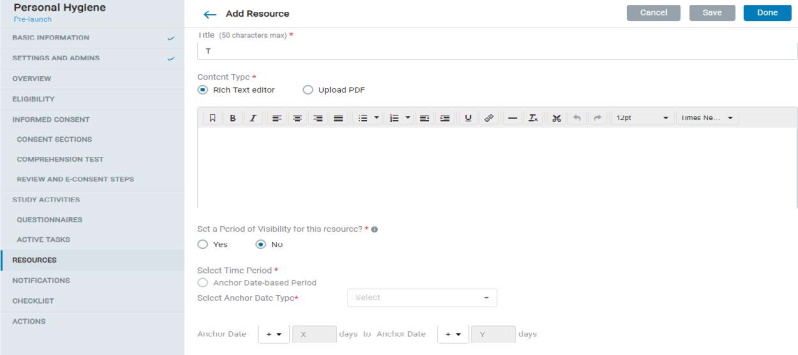
- The Admin can add resources’ content either using a text editor or by uploading a PDF. These resources will be reflected in Mobile app in the Resources section of the study.
- Resources can be made available in the app for specific time periods using the Period of Visibility settings. There is also a provision to notify mobile users when a new resource is available.
8.1.10 Notifications
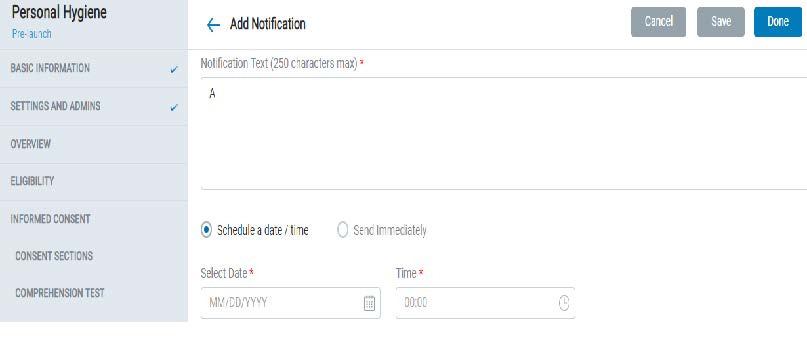
- Admins can create and send study-specific push notifications to participants
- Notifications can either be sent out immediately or scheduled for a date and time.
8.1.11 Actions
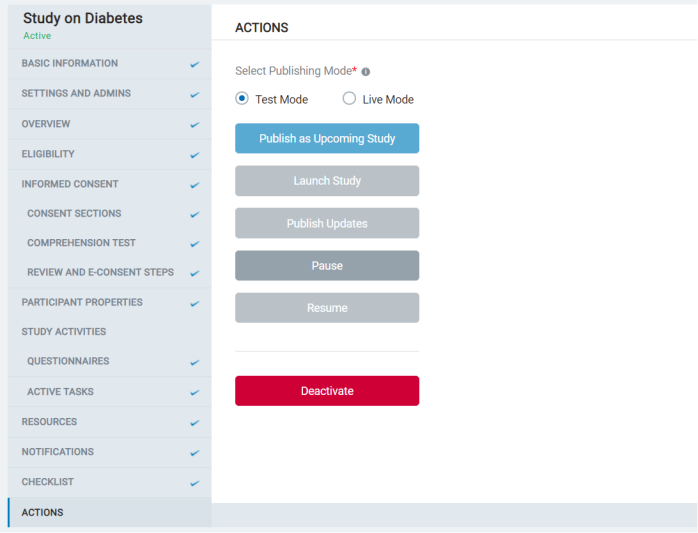
- In this section, the admin sees the various actions that can be taken with a study.
- Admins can choose to publish the study as test mode or live mode. Each mode can be published as an upcoming one, launch the study to enroll participants, collect data, publish updates ongoing to existing studies, or Pause/Resume or deactivate them.
