Files in the repository, both structured and unstructured, are indexed using the full-text search scanner. (This is different from, and complimentary to, the search functionality provided by SQL queries, which we will begin to explore in the next step.)
In this step you will search your files using
full-text search and you will
add tags to files to support more advanced search options.
Add Search User Interface
- Return to the Start Page tab where you installed the Files web part.
- At the bottom of the left side of the page, click Select Web Part, select Search and click Add.
- Pull down the web part control menu and select Move Up to move it above the Files web part.

- Using the pulldown webpart menus, you could also "Remove from page" the Wiki and Messages webparts; they are included in a default "Collaboration" folder but not used in this tutorial.
Search the Data
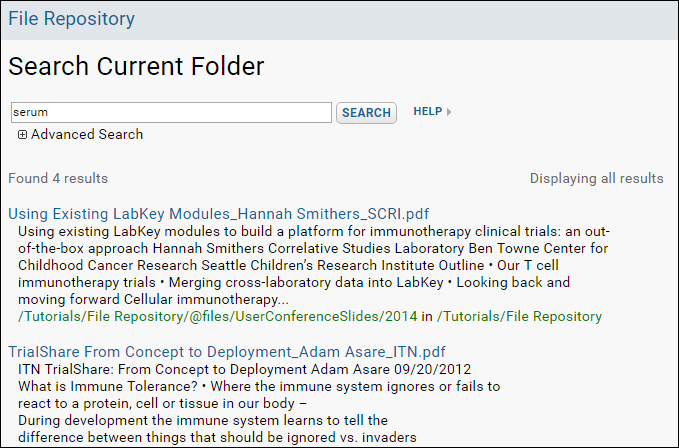
- Enter "serum" and click Search.
- The search results show a variety of documents that contain the search term "serum".
- Click the links to view the contents of these documents.

- Try other search terms and explore the results. Some suggested search terms: "cancer" and "HIV". Try "Mendel" for an empty result (we'll come back to this term in a the next tutorial step.)
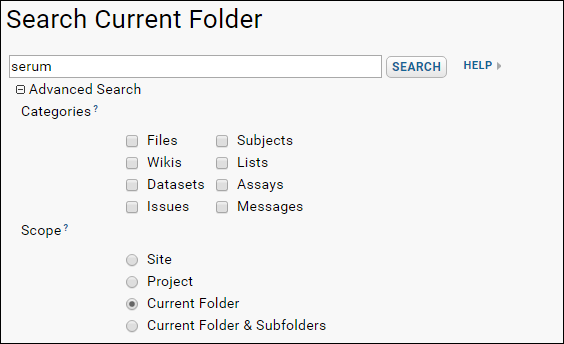
- Click the + symbol next to Advanced Search for more options including:
- narrowing your search to selected categories of data.
- specifying the desired project and folder scope.
- See an interactive example: Search LabKey documentation for "serum".

File Tagging
In many cases it is helpful to tag your files with custom properties to aid in searching, for example, when the desired search text is not already part of the file itself. For example, you might want to tag files in your repository under their appropriate project code names, say "Darwin" and "Mendel", and later retrieve files tagged for that project.
To tag files with custom properties, follow these steps:
Define a 'Project' Property
- Navigate back to Files by clicking the Start Page tab.
- Click Admin. If you don't see it, try the >> pulldown menu.
- Select the File Properties tab.
- Select Use Custom File Properties.
- Click Edit Properties.
- In the Files Property Designer make the following changes:
- In the Name field, enter "Project".
- In the Label field, enter "Project".
- In the Description field on the Display tab, enter "Enter the project this file belongs to:".

Apply the Property to Files
- Open the folder tree toggle and expand directories.
- Select two files by placing a checkmark next to their filenames.
- Click Edit Properties, or it may be shown only as a wrench-icon. (Hover over any icon-only buttons to see a tooltip with the text. You might need to use the Admin > Toolbar and Grid Settings interface to make it visible.)

- In the Project field you just defined, enter "Darwin" for the first file.
- Click Next and enter "Mendel" for the next.
- Click Save.
Retrieve Tagged Files
- In the Search web part, enter "Darwin" and click Search.
- Your tagged file will be retrieved (along with any other file containing the string "Darwin").
- Enter "Mendel" and search again to retrieve the other file you tagged.
Turn Search Off (Optional)
The full-text search feature can search content in all folders where the user has read permissions. There may be cases when you want to disable global searching for some content which is otherwise readable. For example, you might disable searching of a folder containing archived versions of documents so that only the more recent versions to appear in project-wide search results.
- To turn the search function off in a given folder, first navigate there.
- Select Admin > Folder > Management, and click the Search tab.
- Remove the checkmark and click Save.
Note that you can still search from within the folder itself for content there. This feature turns off global searches from other places.
