When you "publish" a study, you select a subset of data from the study, often with the intention of allowing broader access to this subset of data. For example, you might publish data in order to show it to colleagues working in a related field, or to the general public.
You can select narrowly or broadly in the source study. For example, you might select just a few participants and time points to be included in the published study; or you might select the majority of data in the source study, leaving out just a few distracting elements. You can select any subsets from the following aspects of the source study:
- Participant Groups
- Datasets and Lists
- Timepoints and Visit Dates
- Specimens
- Views and Reports
- Settings (Folder, Study, and Specimen)
After publishing a study, you may later elect to republish the same study, perhaps with new data, using the same settings used in the prior published study.
What Happens When You Publish a Study?
Data that is selected for publication is packaged as a new study in a new folder. (This is similar to creating an
ancillary study, with slightly different options and behaviors.) The security settings for the destination folder can be configured independently of the original source folder, allowing you to maintain restricted access to the source study, while opening up access to the destination folder. By default, the new destination folder inherits its security settings from whatever parent folder is specified. To change the security configuration of the destination folder, define user groups for the folder and map roles (access levels) to those groups. For details see
Security Tutorial and
Configure Permissions.
Protected Health Information
You can provide another layer of security to the published data by randomizing participant ids, dates, and clinic names. You can also hold back specified columns of data.
For details see
Publish a Study: Protected Health Information.
Publish Data in a Study
To publish a study, follow these instructions:
- In the study folder, click the Manage tab.
- At the bottom of the page, click the Publish Study button.
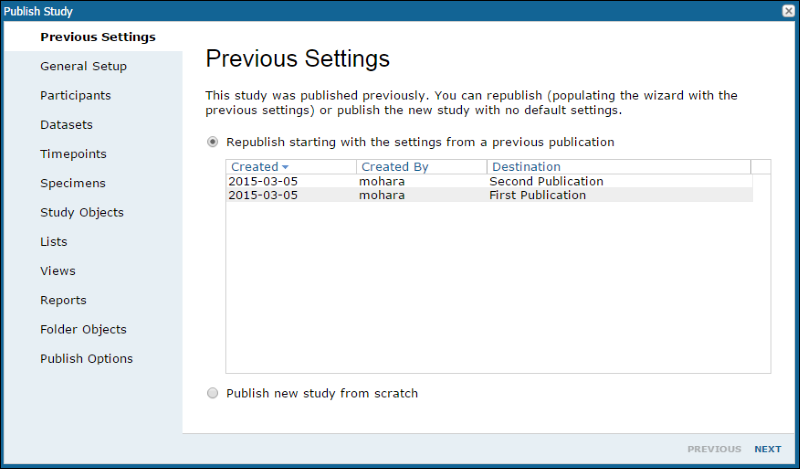
- Note: If there were already studies published from this one, you will have the option to use Previous Settings as defaults.
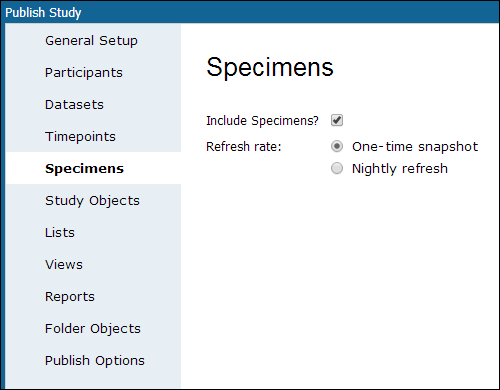
- The wizard lets you select the following options:
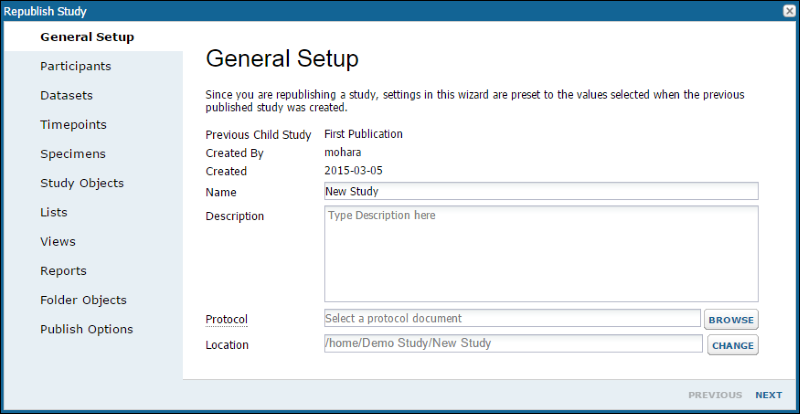
- General Setup - Specify a name and description for the published study, provide a protocol document, and select the destination folder. By default the destination folder is created as a child folder of the source study. You can select a different parent folder by clicking the Change button next to the Location field.
- Participants - Select at least one participant group.
- Datasets - You can optionally include any datasets in the source study. For details on refreshing these datasets, see Publish a Study: Refresh Snapshots.
- Timepoints - Select at least one timepoint.
- Lists/Views/Reports - These are all optional items.
- Specimens - If specimens are selected for publication, you have the option to refresh the data daily to capture ongoing changes to the source specimen data, or you can use a one-time, non-refreshable snapshot. For details on refreshing specimen data, see Publish a Study: Refresh Snapshots.

Republish a Study using Previous Settings
When you publish a study, the settings are retained and can be used later as defaults when republishing the same study. For example, an administrator might use exactly the same settings to republish a study with corrected data, or might update some settings such as to publish a 36-month snapshot of a trial in the same way as an 18-month snapshot was published.
- Go to the Manage tab.
- Click Publish Study.
- The first option in the publication wizard is to select either:
- Republish starting with the settings from a previous publication: Choose from the list.
- Publish new study from scratch

- Click Next and continue with the wizard, noting the previous settings are provided as defaults.
The same option to use prior settings is provided for creating ancillary studies, though you cannot use settings from a previous published study to create an ancillary study or vice versa.
Study Snapshot
Information about the creation of every ancillary and published study is stored in the study.studySnapshot table. This table contains a row for each ancillary or published study that was created from the study in the current folder. You can view this table in the schema browser, or add a query web part to any tab. Only users with administrator permissions will see any data.
You may also add this snapshot to a tab in your folder:
- Select Query from the Select Web Part dropdown in the lower left and click Add.
- Choose the schema "study" and click "Show the contents of a specific query or view".
- Select the query: "StudySnapshot".
- Click Submit.
- The default grid shows the settings used to publish the study; this column has been hidden to simplify this screencap:

If you republish a study using one of the links in the study snapshot, the previous settings will be used as defaults in the wizard. The first page of the wizard will give you additional information about the prior publication.

Related Topics
