Projects and folders are used to organize workspaces in LabKey Server. They give a "container" structure for assigning permissions, sharing resources, and can even be used to present different colors or branding to users on a server. To create a new project or folder, you must have administrative privileges.
Create a New Project
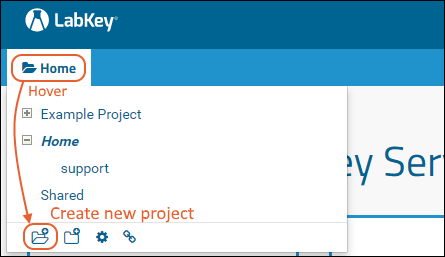
- To create a new project, click the Create Project icon at the bottom of the project menu.

- Enter a Name for your project. Using alphanumeric characters is recommended.
- If you would like to specify an alternate display title, uncheck the Use name as title box and a new box for entering the display title will appear.
- Select a Folder Type, and click Next. If not otherwise specified, the default "Collaboration" type provides basic tools.
- Choose initial permission settings for the project. You can change these later if necessary. Options:
- My User Only
- Copy from Existing Project: Select this option, then choose the project from the pulldown.
- Click Next.
- Customize Project Settings if desired, and click Finish.
- You will now be on the home page of your new project.
Create a New Folder / Create Subfolder
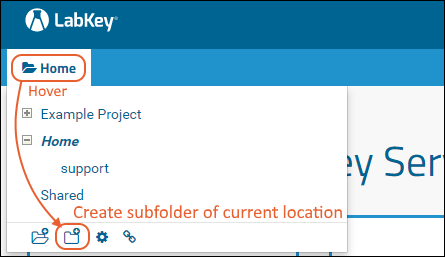
- To add a folder, navigate to the location where you want to create a subfolder
- Use the Create Folder icon at the bottom of the project and folder menu.

- Provide a Name. By default, the name will also be the folder title.
- If you would like to specify an alternate title, uncheck the Use name as title box and a new box for entering the title will appear.
- Select a Folder Type. If not otherwise specified, the default "Collaboration" type provides basic tools.
- Select how to determine initial Users/Permissions in the new folder. You can change these later if necessary:
- Inherit from parent folder (or project).
- My User Only.
- Click Finish.
- If you want to immediately configure permissions you can also click Finish and Configure Permissions.
Create a Folder from a Template
You can create a new folder using an existing folder as a template, selecting which objects to copy to the new folder. For example, you could set up one folder with all the necessary web parts, tabs, and explanatory wikis, then create many working folders as "clones" of the template.
- Create a new folder.
- Provide a Name, and optional alternate title.
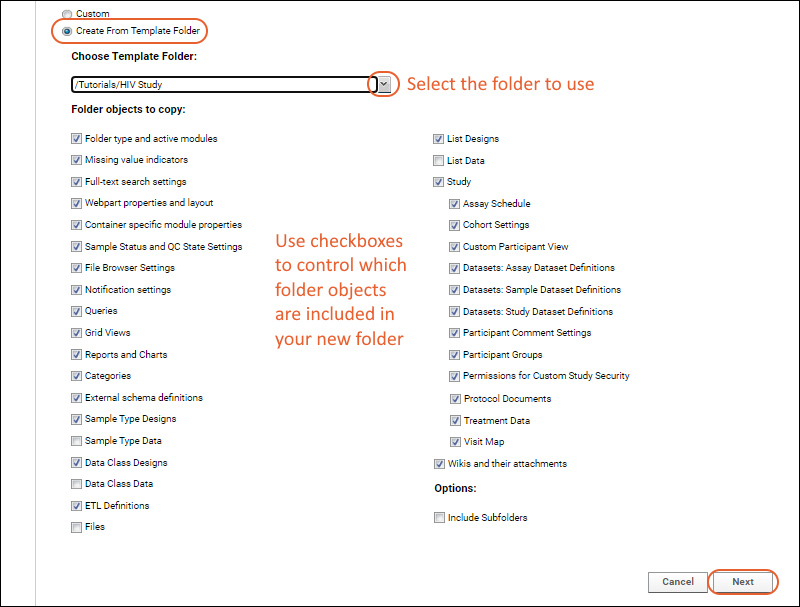
- As Folder Type, select the radio button Create from Template Folder:
- From the Choose Template Folder pulldown menu, select an existing folder to use as a template.

- Use checkboxes to select the Folder objects to copy from the template.
- By default all columns marked as PHI in the template folder are included. Use the Include PHI Columns checkbox and dropdown to set a different level to exclude some or all PHI when the new folder is created.
- Check the box if you want to Include Subfolders from the template.
- Click Next and complete the rest of the wizard as above.
Related Topics

