The
assay schedule within a LabKey study provides a way to define and track expectations of when and where particular instrument tests, or assays, will be run. The schedule may be the same for all subjects of the study, or each cohort may have a different schedule.
To define the assay schedule within a study:
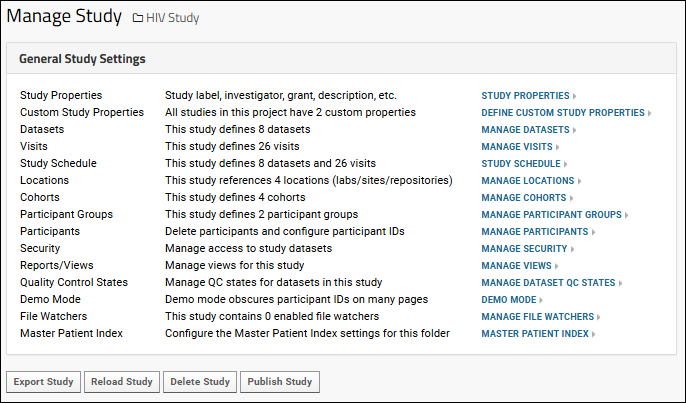
- Select (Admin) > Manage Study.
- Click Manage Assay Schedule.
Populate Dropdown Options
Before you can define your assay schedule, you will need to populate dropdown options for the
Assay Name, Lab, SampleType, and Units fields. They can be set at the folder level as described here. You can also view or set project-level settings by selecting
Configure > Project > [field_name].
- Select Configure > Folder > Assays.
- Select (Insert Data) > Insert New Row (or Import Bulk Data) to populate the StudyDesignAssays table.
- Repeat for:
- Configure > Folder > Labs to populate the StudyDesignLabs table.
- Configure > Folder > SampleTypes to populate the StudyDesignSampleTypes table.
- Configure > Folder > Units to populate the StudyDesignUnits table.
Define Assay Configurations
Each assay you add will become a row on your assay schedule.
- Return to the Manage Assay Schedule page.
- In the Assay Schedule panel, click Add new row.
- Select an Assay Name and complete the Description, Lab, Sample Type, Quantity, and Units fields.
Define Assay Schedule
Next you will add a column for each visit (or timepoint) in your study during which an assay you defined will be run. Depending on the way time is tracked in your study, you'll see either "timepoint" or "visit" in the UI. If you do not already have timepoints defined in your study, you may add them from this page.
- Click Add new visit (or timepoint).
- In the popup, decide whether to:
- Select an existing visit from the dropdown.
- You can choose "[Show All]" to include all visits.
- Create a new study visit providing a label and range.
- Click Select or Submit respectively to add a new column to the assay schedule.
- Each visit you add will become a column. Check the boxes to identify which assays will be run at this visit.
- Continue to add rows for assays and columns for visits as appropriate.
- Click Save to save the schedule. Note that columns without data (such as visits added which will not have any assays run) will not be saved or shown.
Assay Plan
Enter a text description of the assay plan. Click
Save when finished. The assay plan is optional to the study tools, but may be required for some workflow applications. If provided, it will be displayed with the assay schedule in the study.
Display Assay Schedule
You may now choose to add an
Assay Schedule web part to any tab or page within your study. The web part includes a
Manage Assay Schedule link, giving users with Editor permissions the ability to manage the assay schedule without having access to the Manage tab.
- Enter > Page Admin Mode.
- From the Select Web Part dropdown, choose Assay Schedule.
- Click Add.
- Click Exit Admin Mode when finished.
Additional Resources